Was this content helpful?
How could we make this article more helpful?
Account and Billing Management
Use Lyve Management Portal to manage your account, invoices, and payments.
Sign in
- Go to lyve.seagate.com.
- Select the Sign In | Register button.
- Enter your email address, and then select Next.
- An email with a code is sent to your email address. Enter the code, and then select Next.
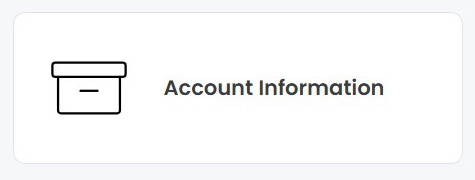
Account information
The Account Information page displays the following information:
- Company information (company name, account type, account number)
- Business address
To view the account overview:
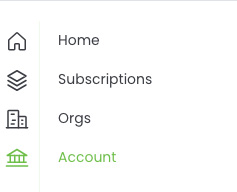
- On the Home page, select Account in the sidebar.
- Select Account Information.
To edit details, select a field and enter new text. Changes are saved automatically.
If your account has already been onboarded as an approved customer, contact Lyve Support Center to request a change by clicking on the link in the banner.

Your account number cannot be changed.
View invoices
To view account invoices:
- On the Home page, select Account in the sidebar.
- Select Invoices.
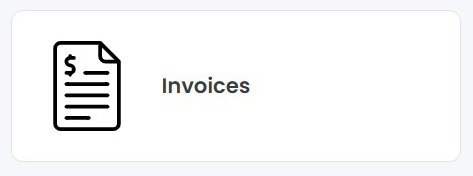
- Select an invoice from the list.
If necessary, use the controls below the list to view more invoices. To find a specific invoice, enter an invoice number in the search field.
View payment records
To view payment records:
- On the Home page, select Account in the sidebar.
- Select Payments.

- Select a payment record from the list.
If necessary, use the controls below the list to view more payment records. To find a specific payment, enter a payment number in the search field.
Add a payment method
Payment methods can only be added when paying by credit card.
To add a credit card:
- On the Home page, select Account in the sidebar.
- Select Payments.
- Select + Credit Card above the payments list.
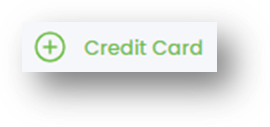
European customers— Mastercard® and Visa® are accepted.
- Enter your payment method details.
- Select Submit.
Make a payment method the default
To make a payment method the default payment method:
- On the Home page, select Account in the sidebar.
- Select Payments.
- In the 'Actions' column, select the More icon for a payment method, and then select Make Default.
Remove a payment method
A credit card can only be removed if it is not the default card.
To remove a payment method:
- On the Home page, select Account in the sidebar.
- Select Payments.
- In the 'Actions' column, select the More icon for the payment method you want to remove, and then select Remove.
- In the dialog, select Remove to confirm.
Pay by credit terms
To pay for services by invoice, you'll need to complete a credit application and be approved by Seagate prior to receiving product shipments or starting services. You can start the application process when you create the account.
To complete the application process:
- On the Home page, select Account in the sidebar.
- Select Payments.
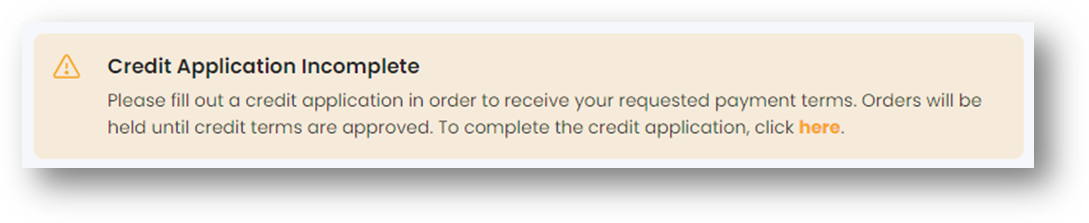
- Select the link in the 'Credit Application Incomplete' notification:
You can invite another person to complete the credit application. This may be useful if you typically rely on another member of your organization for finance and tax details, bank and trade references, legal and financial contacts, and so on. They will usually have only the basic permissions necessary to view and complete the credit application.
To invite another person, select the link in the notification at the top of the page:

The invited person will receive an email with instructions on becoming an account member.
- Enter company details in the 'Company Information' section. Select Next.
- The 'Billing Address' section should be prepopulated with the billing address tied to the account. To change the billing address, use the search field to search for an address. (Alternatively, select a country and then manually enter address details.) Select Next.
- (Optional) In the 'Bank Reference' section, enter bank reference details or select Skip.
- (Optional) In the 'Trade Reference' section, enter trade reference details or select Skip.
- In the 'Legal Finance Contact' section, enter contact details. Select Next.
- In the 'Documents' section, provide tax-related details and documents. Select Finish.
- In the 'Terms & Conditions' section, select each link to review terms and conditions and privacy statements.
- Select the checkboxes, and then select Submit.
View account members
To view account members:
- On the Home page, select Account in the sidebar.
- Select Account Members.
For details on adding/removing members and editing member permissions, see Manage billing account members.